Installation
Setup Walkthrough
What actually happens when you run npx zephex setup. Every step diagrammed, every prompt explained, every file written. Target: working MCP in ~90 seconds with 10 tools at https://zephex.dev/mcp.
Tip: Skip the interactive picker with a flag — npx -y zephex@latest setup --cursor goes straight to OAuth and config write. See npx zephex for all flags.
Run setup
npx downloads zephex (~1.4MB) and starts the wizard.
Pick editor
Interactive picker or --cursor / --vscode flag.
Browser OAuth
Sign in at zephex.dev — CLI polls for the API key.
Write config
HTTP for Cursor/Claude; stdio for VS Code and others.
Restart & verify
Quit editor fully; confirm 10 tools.
diagram — end-to-end setup flow
┌──────────────────────────────────────────────────────────────────┐
│  npx zephex setup  →  picker  →  OAuth  →  config  →  restart   │
│       │                  │          │         │           │      │
│       ▼                  ▼          ▼         ▼           ▼      │
│   npm download      editor/scope  browser   writes     10 tools │
│   (~1.4MB)          /mode pick    sign-in   mcp.json   in editor │
└──────────────────────────────────────────────────────────────────┘
Stdio editors never re-auth per tool call — the API key is written once into config env. HTTP editors (Cursor) store Bearer in headers.
One command, no global install required
npx downloads the latest zephex package from npm and runs it. No global install needed — though npm install -g zephex gives you shorter mcpcli commands.
npx -y zephex@latest setupPrefer manual JSON? See Quickstart.
The CLI shows a 3-step picker. Each step explains what it does so you don't have to guess.
diagram — interactive picker (step 2)
◆  Which editor?     → Cursor, Claude Code, VS Code, Windsurf, …
◆  Where available?  → All projects (global) or This project only
◆  Agent mode?       → MCP + Skill + Rule (recommended) or MCP only
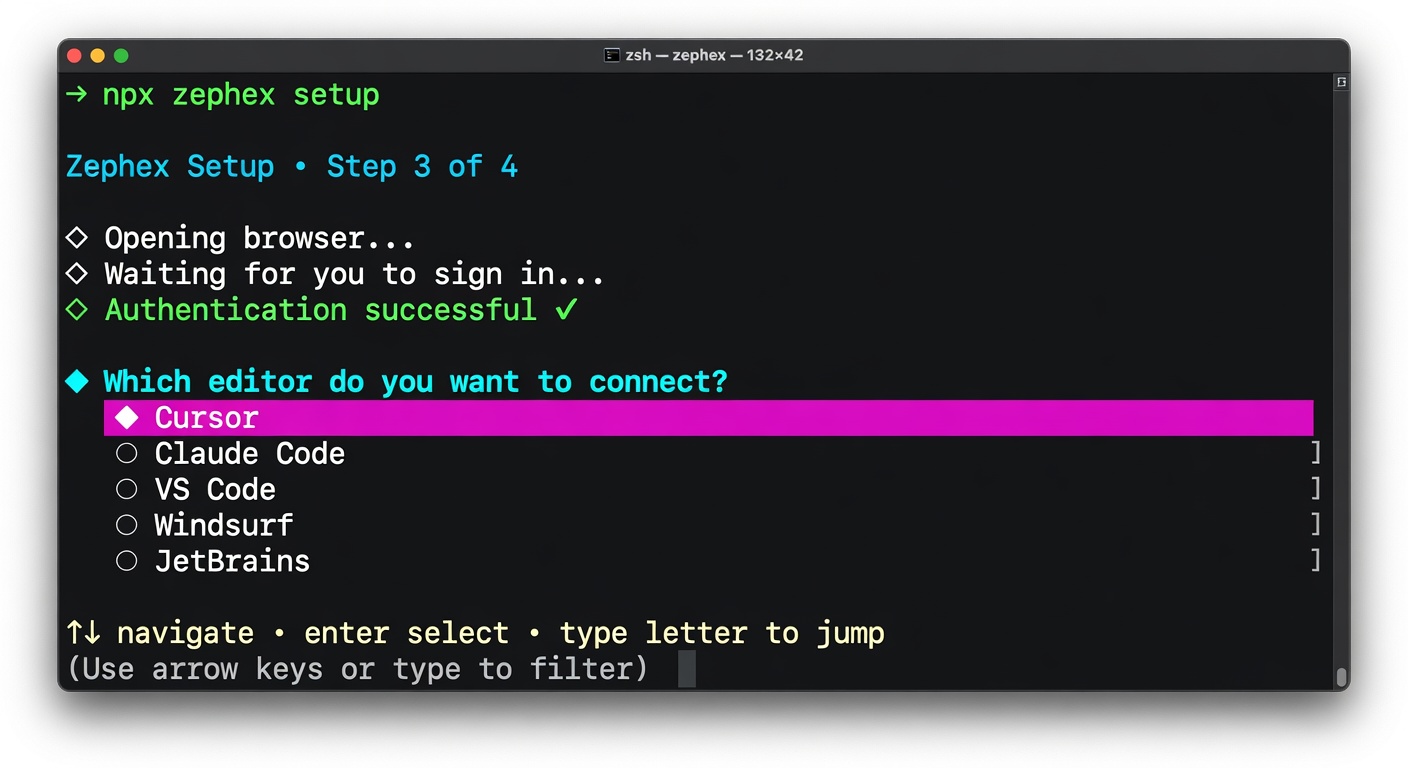
Screenshot — the npx zephex setup wizard with editor, scope, and mode selection.
2A — EDITOR
20+ options. Arrow keys, type to filter, or press 1-9 / a-j to jump. Flags like --cursor skip this step.
2B — SCOPE
Shown only in a real project (package.json, .git, etc.). Global vs project-local config. Auto-skipped in home or /tmp.
2C — MODE
MCP + Skill + Rule installs SKILL.md and rules that teach the agent when to call tools. MCP only writes the connection config.
diagram — browser OAuth polling
CLI opens zephex.dev/cli/auth?session=xxx
Terminal polls /api/cli/poll every 2s until sign-in completes
Browser creates API key → CLI receives key → writes config
https://zephex.dev/cli/auth?session=01jx8m...Sign-in methods
- GitHub (recommended for developers)
What the browser does
- Creates a new API key for your account
- Marks the CLI session complete with that key
- Shows "You can close this tab"
Common mistake: Closing the terminal while waiting for sign-in. Keep the terminal open — the CLI polls every 2 seconds until the browser completes OAuth.
Once the CLI receives the API key, it writes the editor-specific config. Paths vary per editor:
diagram — config file paths per editor
Cursor        ~/.cursor/mcp.json          ./.cursor/mcp.json
Claude Code   ~/.claude.json              ./.mcp.json
VS Code       —                           ./.vscode/mcp.json
OpenCode      ~/.config/opencode/...      ./opencode.json
Windsurf      ~/.codeium/windsurf/...     —
Example — what the CLI writes for Cursor (hosted HTTP):
{ "mcpServers": { "zephex": { "url": "https://zephex.dev/mcp", "headers": { "Authorization": "Bearer mcp_prod_priv-1234.your-secret-here" } } }}Codex uses TOML, VS Code uses a servers key, Antigravity uses serverUrl. The CLI handles all formats — see HTTP vs stdio.
diagram — skill and rule file paths
Cursor       ~/.cursor/skills/zephex/SKILL.md    ~/.cursor/rules/zephex.md
Claude Code  ~/.claude/skills/zephex/SKILL.md    ~/.claude/rules/zephex.md
OpenCode     ~/.agents/skills/zephex/SKILL.md    AGENTS.md block
The skill file teaches the agent when to call Zephex tools. Without it, tools are visible but the agent may not use them at the right times.
diagram — terminal success output
◇  Signed in as you@example.com
◇  API key created: cli-2026-05-24
◇  Config written to ~/.cursor/mcp.json
◇  Skill installed at ~/.cursor/skills/zephex/SKILL.md
└  Done! Restart Cursor and you'll see Zephex tools in the tool list.
Important: a window reload is not enough for most editors. Quit completely (Cmd+Q on Mac, fully exit on Windows/Linux) and reopen.
npx -y zephex@latest statusEDITOR CONFIG KEY STATUS TOOLS DETAIL------------------ ------------------------ --------------- ------ ----- ------Cursor (global) ~/.cursor/mcp.json mcp_prod_pri... PASS 10 okIf STATUS is PASS and TOOLS is 10, your editor is connected. Also run npx zephex doctor.
diagram — quick fixes
Browser didn't open     → Open the URL the CLI printed
Stuck on sign-in > 5m   → Check internet, retry setup
Tools don't appear      → Quit editor fully (Cmd+Q)
401 Unauthorized        → npx zephex reconnect
Network errors          → npx zephex doctor
Full guide: MCP troubleshooting · npx zephex (doctor, repair, list).
diagram — 90-second timeline
0:00  npx zephex setup
0:03  Picker — pick editor, scope, mode
0:14  Browser OAuth at zephex.dev/cli/auth
0:22  CLI receives key, writes config + skill
0:25  "Done! Restart Cursor."
0:35  Reopen editor → ask agent to use find_code
Total: ~90 seconds end to end
FORMAT
mcp_prod_priv-1234.abc123def456…
ON DISK
Editor config file + ~/.zephex/credentials.json
ON SERVER
HMAC-SHA256 hash with per-key salt — plain text never stored after creation
npx zephex keysnpx zephex reconnect