Get Started
Quickstart
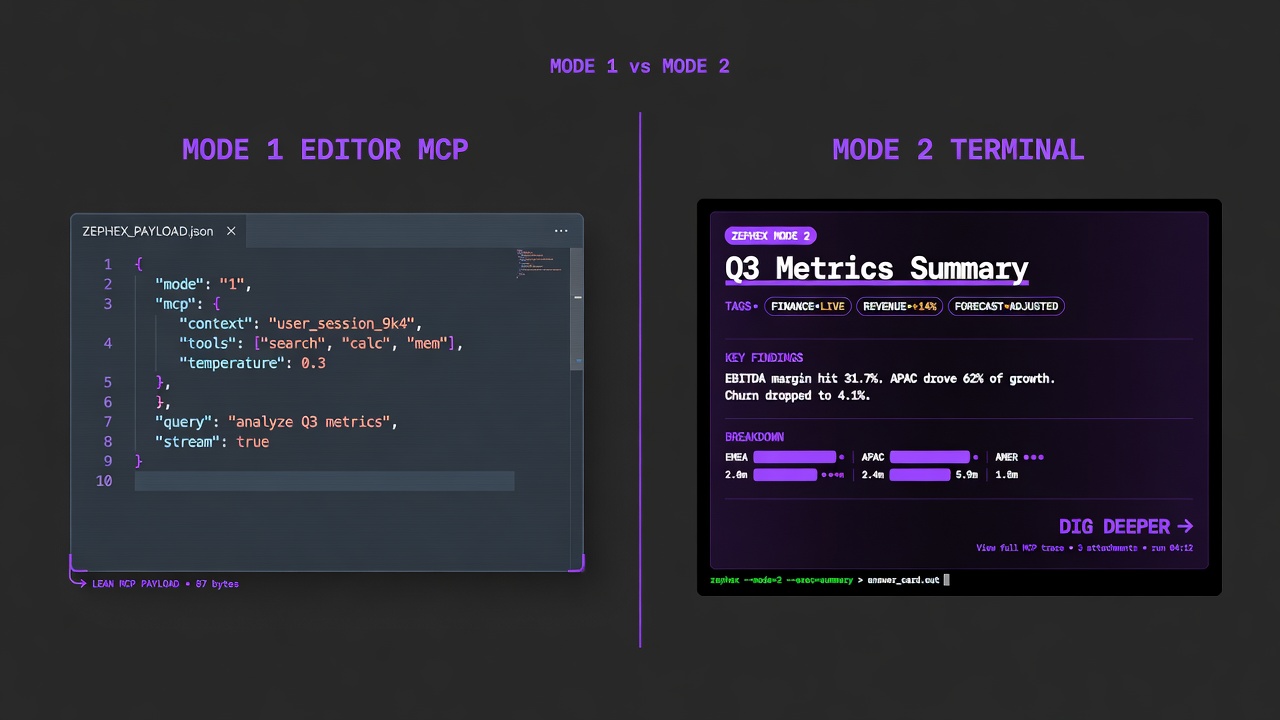
Two paths, one account: wire an AI editor (Mode 1) or run mcpcli in the terminal (Mode 2 answer cards). 10 hosted tools at https://zephex.dev/mcp.
Should I download anything? Not to watch videos (0 MB). To connect an editor: paste config from the dashboard (0 MB if you paste config by hand · ~30–85 MB Node only if you run the setup wizard) or run setup once if you want the wizard. You do not need the Terminal CLI page for normal use.
Watch setup video first · Terminal commands (optional)
- Connect = link Cursor, Claude Code, or VS Code to Zephex so the AI in that app can use tools (search code, check packages, etc.).
- mcpcli / zephex in Terminal = you type commands in Terminal yourself. Different from connect — you do not need this to watch videos.
- MCP = the protocol editors use to talk to Zephex. You can ignore this word if you only watch videos or paste a config once.
- Zephex is not a big app from a random download site. For connect-in-editor you usually only need a free account + a small config paste, not a huge installer.
Pick editor, terminal, or both — same API key.
MODE 1 — EDITOR
Agent calls tools as JSON. Fastest setup: npx -y zephex@latest setup --cursor
MODE 2 — TERMINAL
You run commands; get answer cards. npm i -g zephex && mcpcli init
npm install -g zephexmcpcli initcd your-appmcpcli overviewmcpcli find-code "auth"mcpcli safe expressmcpcli check-testmcpcli check url https://example.commcpcli doctorDeep guide: CLI without an agent · Terminal Mode 2
Four steps. About five minutes. Same flow for every editor.
Tip: The fastest editor path is npx -y zephex@latest setup --cursor (or any editor flag) — browser sign-in, config write, and verify in one command. See Connect MCP or Setup walkthrough.
Pick your editor
Choose a tab below or a per-editor guide. Setup writes HTTP for Cursor/Claude Code and stdio for most others.
Paste config
Replace YOUR_API_KEY_HERE with your dashboard key. File paths differ per editor.
Restart editor
Fully quit the app (Cmd+Q / Ctrl+Q). MCP servers load at startup — a window reload is often not enough.
Verify tools
Confirm 10 tools via curl, npx zephex doctor, or an in-chat tools/list check.
Jump to a dedicated setup guide for your editor, or use the config tabs in Step 2.
Cursor
Per-editor config path, transport, and restart steps →
Claude Code
Per-editor config path, transport, and restart steps →
VS Code
Per-editor config path, transport, and restart steps →
Windsurf
Per-editor config path, transport, and restart steps →
JetBrains
Per-editor config path, transport, and restart steps →
OpenCode
Per-editor config path, transport, and restart steps →
Zed
Per-editor config path, transport, and restart steps →
All 22+ editors
Per-editor config path, transport, and restart steps →
WATCH ONLY
No install — Setup video (0 MB).
ACCOUNT
Free tier works. API key from Dashboard → API Keys.
EDITOR
Cursor, Claude Code, VS Code, Windsurf, JetBrains, or 17+ more.
NODE (OPTIONAL)
Node 18+ only if you use npx zephex setup or stdio transport.
Create your API key
Open Dashboard → API Keys → Create new key. Name it for the environment it belongs to, such as local-dev or production. Copy the full key now — if you lose it, rotate and create a new one.
# Or let setup create the key via browser OAuthnpx -p zephex mcpcli setupChoose your editor, paste the config into the exact file shown, and replace YOUR_API_KEY_HERE with your real key. For transport details see HTTP vs stdio.
Paste Location
Create .cursor/mcp.json in your project root.
Restart
Fully quit Cursor with Cmd+Q on macOS or Ctrl+Q on Windows/Linux, then reopen it.
{ "mcpServers": { "zephex": { "command": "npx", "args": ["-y", "zephex"], "env": { "ZEPHEX_API_KEY": "YOUR_API_KEY_HERE" } } }}Common mistake: Pasting the key without restarting the editor. MCP configs load at startup — fully quit the app before testing. Registering both HTTP and stdio for the same editor causes duplicate or missing tools.
After restarting, confirm the endpoint and key work before debugging inside the editor UI.
curl tools/list
Direct HTTP check against https://zephex.dev/mcp.
npx zephex doctor
Node, network, MCP reachability, and config health.
curl -X POST https://zephex.dev/mcp \ -H "Authorization: Bearer YOUR_API_KEY" \ -H "Content-Type: application/json" \ -d '{"jsonrpc":"2.0","id":1,"method":"tools/list","params":{}}'npx -y zephex@latest doctornpx -y zephex@latest status# In editor chat: "What MCP tools do you have?"A successful response lists 10 tools:
{ "jsonrpc": "2.0", "id": 1, "result": { "tools": [ { "name": "get_project_context", "description": "Compact, verified project brief before you change code." }, { "name": "read_code", "description": "Extract exact functions, classes, and symbols from source files." }, { "name": "find_code", "description": "Fast repo-wide search using ripgrep." }, { "name": "check_package", "description": "Verify an npm package and compare versions." }, { "name": "project_memory", "description": "Remember and recall project decisions, gotchas, and conventions across sessions." }, { "name": "explain_architecture", "description": "Trace request, auth, and data flows across the app." }, { "name": "Zephex_dev_info", "description": "Expert KB: search then get vetted auth, DB, and security patterns." }, { "name": "check_test", "description": "Return the minimum file set to read before coding." }, { "name": "audit_headers", "description": "Audit TLS, redirects, headers, and cookies." }, { "name": "keep_thinking", "description": "Create a structured investigation session with memory." } ] }}If you see unauthorized, the key or Bearer header format is wrong. If you see 10 tools, the connection is working.
Make your first tool call
In your editor, open a repo and ask the agent to call get_project_context. This gives the model a grounded overview before it starts reading or changing files.
“Use the get_project_context tool and give me a compact overview of this project before you make any changes.”
Stack: Next.js 16, React 19, TypeScript, Bun, ExpressAuth: Bearer API keys (HMAC-SHA256 hashed) plus dashboard session authHosting: Vercel (dashboard + gateway), Railway (MCP server), Supabase (database)Key files: dashboard/src/app/api/mcp/route.ts, dashboard/src/lib/auth.ts, src/services/analyze-routes.tsIntegrations: Stripe (billing), Upstash Redis (rate limiting), Supabase (auth + DB), Sentry (monitoring)Environment variables: SUPABASE_URL, SUPABASE_ANON_KEY, STRIPE_SECRET_KEY, UPSTASH_REDIS_URLunauthorized
Header must be exactly Bearer YOUR_KEY with a space after Bearer.
0 tools in editor
Fully quit and reopen. Run npx zephex doctor.
rate_limit_exceeded
Check monthly usage in the dashboard. Free includes 555 requests per month.
Connection timeout
Confirm HTTPS to zephex.dev on port 443 is allowed.
Full guide: MCP troubleshooting · Setup walkthrough